
How to start FlipaClip from scratch?

FlipaClip is a popular app that allows users to create animations easily and fun. It is an ideal tool for both beginners and those with more experience in animation.
This tutorial will guide you through the steps necessary to start using FlipaClip from scratch, providing a detailed description of its main features and functions.
We will cover everything from the initial installation to the creation of your first animated project, with practical tips at every step of the way.
What is FlipaClip and how does it work?
FlipaClip is an app designed to create 2D animations, which can be used by both beginners and professionals. The app offers an intuitive interface that allows for easy drawing and animating.
You can create animations frame by frame, taking advantage of drawing and editing tools that make the process more accessible.
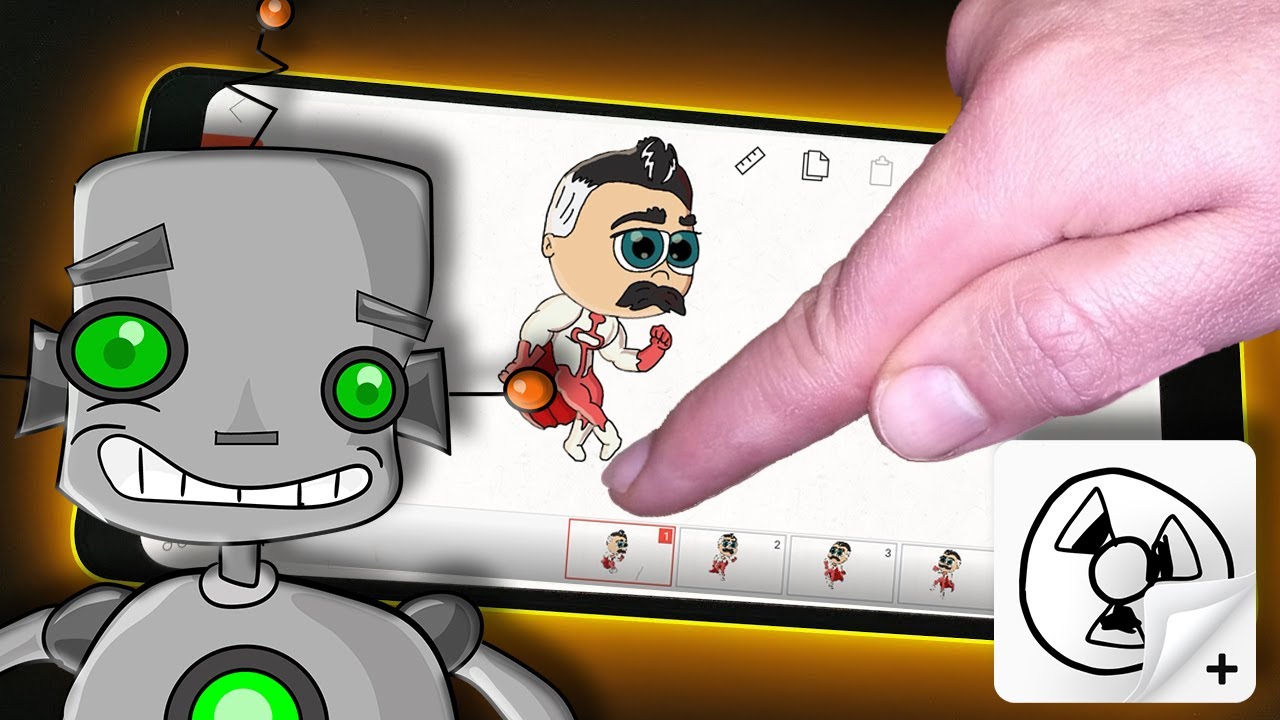
User interface
FlipaClip's interface is designed to be user-friendly. When you open the app, you will find a canvas in the centre, drawing and editing tools at the bottom, and a toolbar at the top.
These tools allow you to adjust brush thickness, select colours, and manage layers, among other functions.
Key features
Among the most notable features of FlipaClip are:
- Layered drawing: Allows you to work on different layers to keep content organised and make edits easier.
- Frame-by-frame animation: Offers the possibility to create detailed animations by drawing each frame individually.
- Editing tools: Include erasers, selection tools, and fill tools that help perfect the drawings.
Getting started with FlipaClip
To start using FlipaClip and create your own animations, follow these detailed steps:
Download and install FlipaClip
The first step is to download and install FlipaClip on your device. The app is available on the iOS and Android app stores, and can also be found on the Microsoft Store for Windows devices.
- For iOS: Search for "FlipaClip" in the App Store and tap "Download" to install it on your iPhone or iPad.
- For Android: Go to the Google Play Store, search for "FlipaClip" and tap "Install".
- For Windows: Access the Microsoft Store, search for "FlipaClip" and select "Get".
If you prefer to access all the Premium features of the tool for free, you can download the FlipaClip MOD via the following link: Download FlipaClip APK
Create a new project
Once the app is installed, open FlipaClip and follow these steps to create a new project:
- Tap the "New Project" button: On the main screen, you will find a button to start a new project. Tap it to get started.
- Configure project options: You will be asked to enter a name for your project, select the resolution, and the frame rate. Adjust these parameters according to your needs.
- Select the canvas: Choose the canvas size for your animation. You can opt for different preset sizes or customise your own.
Get to know the drawing tools
Once you have created your project, familiarise yourself with the drawing tools available in FlipaClip:
- Pencil tool: Allows freehand drawing. You can adjust the thickness and opacity of the pencil.
- Brush tool: Ideal for broader and textured strokes. Offers different texture and shape options.
- Eraser tool: Useful for correcting errors and adjusting details. You can change its size and shape as needed.
Create your first animation
To create an animation, follow these steps:
- Draw the first frame: Use the drawing tools to create the image of the first frame on the canvas.
- Add additional frames: Tap the button to add a new frame. Each frame can be a slight variation of the previous one to create the effect of movement.
- Review the animation: Use the preview option to play the animation and see how it develops. Adjust the frames if necessary.
Using advanced features
Once you feel comfortable with the basics, you can explore some of FlipaClip's advanced features to enhance your animations.
1. Add audio
FlipaClip allows you to add audio to your animations, which can significantly enhance the viewer's experience. To add audio, click on the audio icon and select a track from FlipaClip's library or import your own audio track.
You can adjust the timing of the audio to match your animation perfectly.
2. Using the timeline
The timeline is a powerful tool in FlipaClip that allows you to organise and control your frames efficiently. You can easily duplicate, move, and delete frames. Additionally, the timeline allows you to adjust the playback speed of your animation, giving you full control over the pacing of your work.
3. Export your animation
Once you have finished your animation, it's time to export it. FlipaClip offers several export options, including video and GIF formats. To export your animation, click the export button, select the desired format, and adjust the resolution and frame rate according to your preferences.
Once exported, you can share your animation directly on social media or save it to your device.
How old is FlipaClip?
FlipaClip was first launched in 2012, so the app has over a decade of experience in the animation app market. Since its launch, it has continuously evolved, incorporating new features and improving the user experience.
Its longevity and continuous development are a testament to its utility and popularity among animation creators.
Update history
Over the years, FlipaClip has received numerous updates that have added new features and performance improvements.
These updates have included advanced drawing tools, improvements in layer management, and optimisations for mobile devices. Each new version aims to offer a smoother and more complete experience for animators.
Tips to improve your animations
To achieve more polished and professional animations in FlipaClip, consider these tips:
Use the onion skin function
The "onion skin" function allows you to see the previous and next frames in relation to the current frame. This tool is essential for maintaining consistency in movements and ensuring that the transition between frames is smooth.

Experiment with layers
Layers allow you to separate different elements of your animation. For example, you can draw the background on one layer and the characters on another.
This makes editing easier and allows you to work on different parts of the animation independently.
Study other animators
Watch the work of other animators for inspiration and to learn new techniques. You can find many impressive animations on platforms like YouTube and TikTok.
Analyse how they use timing, transitions, and effects to tell a story and try to incorporate some of these ideas into your own animations.
Use references
Using references can help you create more realistic and detailed animations. You can search for reference images or videos to study the movement and anatomy of the objects you want to animate. This is especially useful when animating characters or complex scenes.
Keep it simple
Do not feel obliged to make complicated animations from the start. Begin with simple projects and, as you become more comfortable with the tools and techniques, you can attempt more ambitious projects.
Simplicity can often lead to effective and visually appealing results.
Use the timeline
The timeline in FlipaClip helps you manage the duration and sequence of your frames. Adjust the duration of each frame and organise the flow of the animation to fit your
creative vision.
Additional resources to learn FlipaClip
If you want to delve deeper into FlipaClip and improve your animation skills, here are some additional resources that can be very helpful:
1. Online tutorials
There are numerous video tutorials available on platforms like YouTube that cover a wide range of topics related to FlipaClip. These tutorials can offer you a visual step-by-step guide and show you advanced techniques that you can apply to your projects.
2. Communities and forums
Joining online communities and forums dedicated to FlipaClip can be very beneficial. These spaces allow you to connect with other animators, share your work, receive feedback, and learn from the experiences of other users.
Some recommended places include Reddit and Facebook groups dedicated to FlipaClip.
3. Books and courses on animation
In addition to online resources, consider investing in books and courses on animation. These resources can offer you a deeper understanding of the principles of animation and help you significantly improve your skills. Some online courses also offer certificates that can be useful if you want to pursue a career in animation.
With these steps and tips, you will be ready to start exploring the world of animation with FlipaClip.
This app offers you a powerful and accessible platform to express your creativity and bring your ideas to life through 2D animations. Do not hesitate to experiment and have fun while creating your projects!
Leave a Reply